• About
  • Contact
  • FTC Disclosure

Busy in the Burbs

Busy in the Burbs

Tag Archives: Fish

Cod with Brussels Sprouts, Bacon, and Carrot Puree

02 Friday Feb 2018

Posted by Nora in Recipes

≈ 1 Comment

Tags

Brussels Sprouts, Fish

IMG_7612

This was very good.  Our oldest even took seconds of Brussels Sprouts.  So, I might put them in the rotation even if they’re not with this specific recipe.

Adapted from The Yellow Table’s recipe

Ingredients (serves 8):
1 cup chopped bacon
2 cups shredded Brussels Sprouts
½ cup white wine
2 Tbsp olive oil
8 6-oz servings of cod (adjust accordingly, I will try a full fillet that I cut later next time.)
Salt & pepper
20 oz carrot puree (I used Wegman’s which has a nice hint of ginger.)

Directions:

The Brussels Sprouts and cod can be made in parallel.
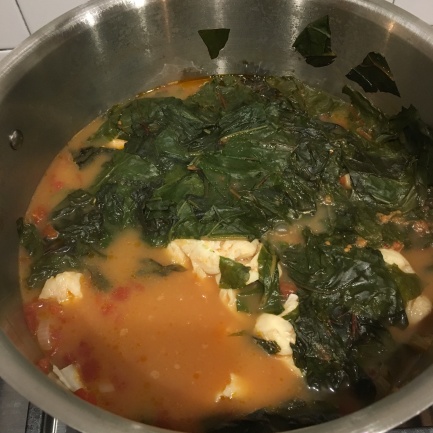
Brussels Sprouts:

  1. Cook the bacon in a large frying pan over medium-high heat until it begins to brown.
  2. Add the Brussels Sprouts and cook for about 3 minutes, until wilting and bright green.
  3. Add the white wine and simmer until it evaporates.
  4. Remove from heat.  Salt and pepper to taste.
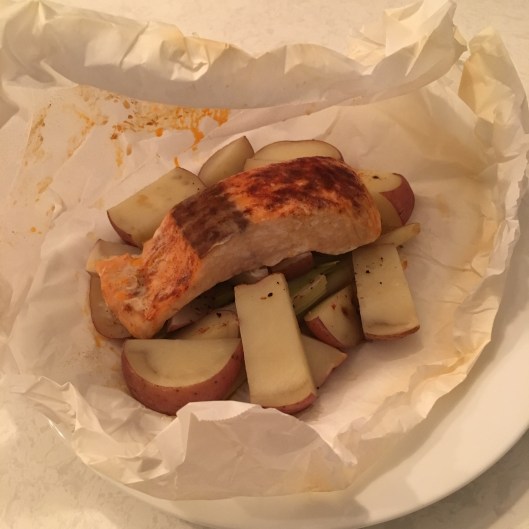
Cod:

  1. Preheat the oven to 425°.
  2. Salt and pepper the cod.
  3. Heat the oil in a large non-stick pan over medium-high heat.  (I used a non-stick roasting pan.)
  4. Add the cod, skin side down.  Sear the fish for 3 minutes.
  5. Flip the cod pieces and move the pan to the oven.
  6. Cook for 5 more minutes or until the fish flakes easily.

Heat the carrot puree per the package instructions.

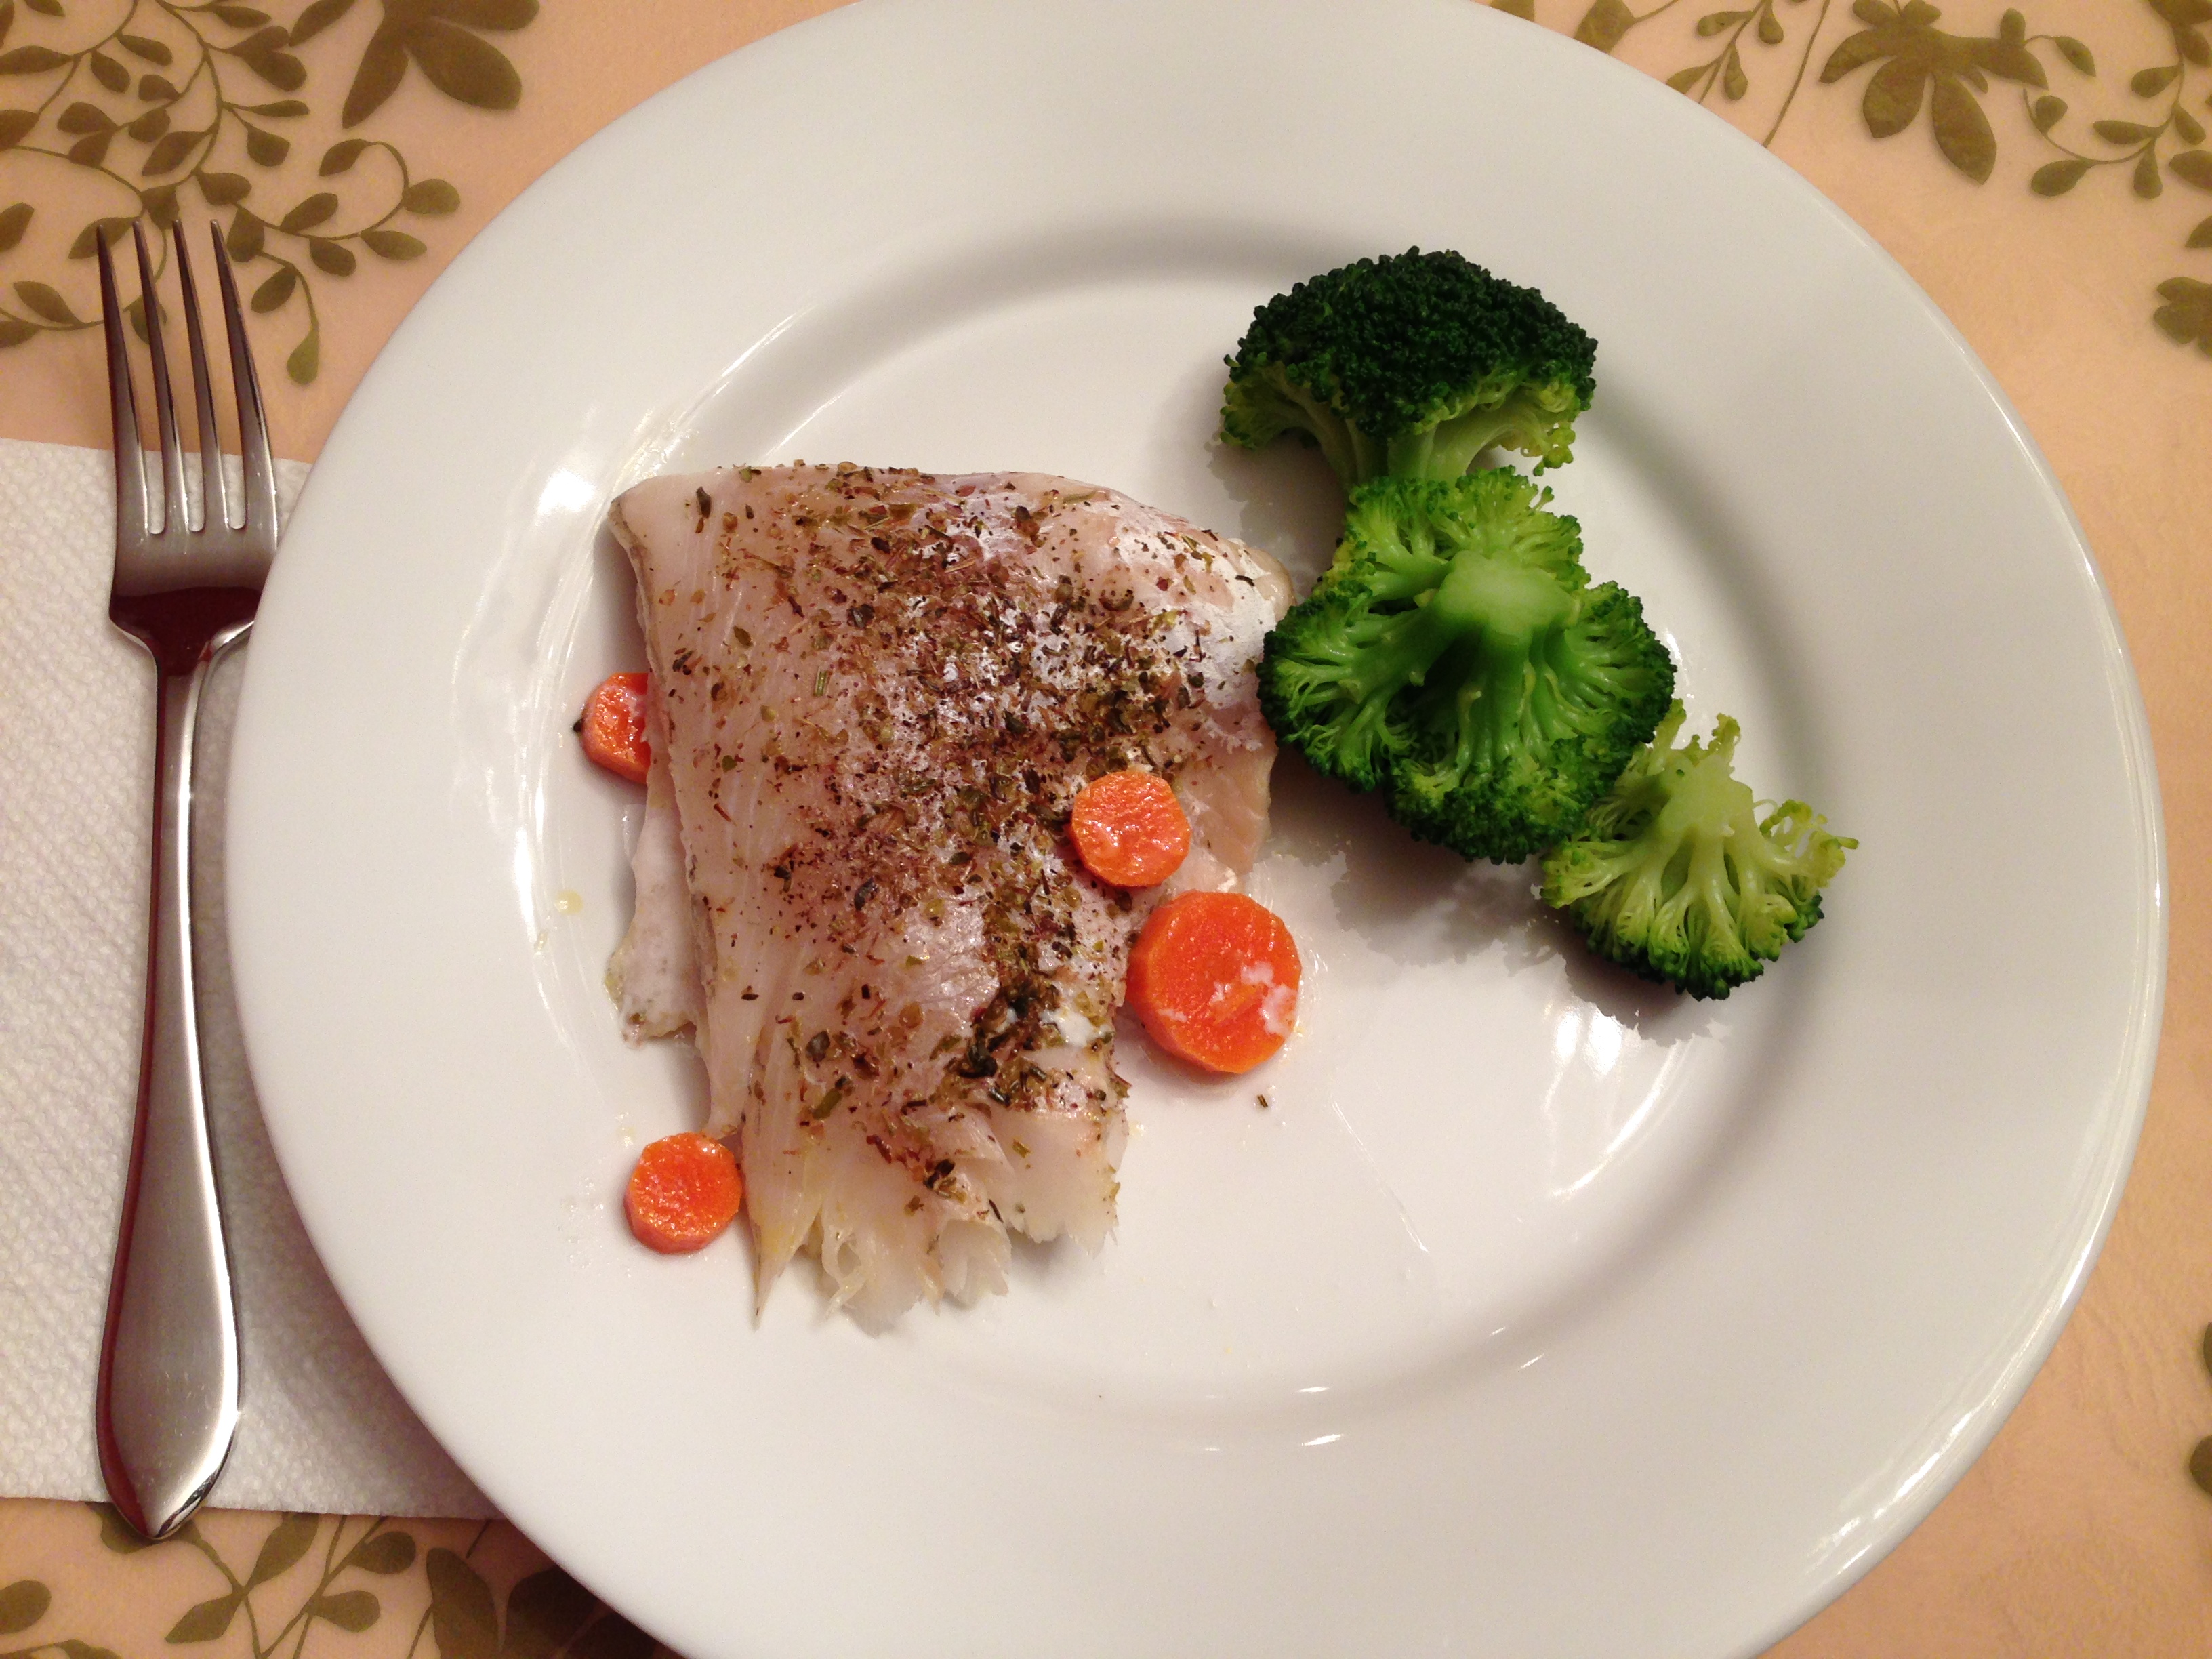
Plate separately, or stack: carrot puree first, topped by cod, then Brussels Sprouts.

IMG_7611

Green Tea Poached Salmon with Soba Noodles

26 Friday Jan 2018

Posted by Nora in Recipes

≈ 1 Comment

Tags

Fish, Salmon

IMG_7598

Green Tea Poached Salmon with Soba Noodles
adapted from Green-Tea-Poached Salmon with Soba

Ingredients (4 servings):

4 oz soba noodles
1 (2-inch) piece fresh ginger, thinly sliced
3 cloves garlic, smashed
3 cups chicken broth
5 green tea bags or 1 tea ball full of green tea
2 6-oz skinless salmon fillets
3/4 cups frozen edamame (optional)
1 tsp sesame oil
2 green onions, sliced
1 lime, sliced in wedges

Directions:

  1. Cook the soba noodles according to the package directions.  Drain and rinse with cold water.
  2. In a medium pot combine the ginger, garlic, broth, and 3 cups of water.  Bring to a boil.
  3. Remove from the heat.  Add the tea and let stand 3 minutes.  Remove and discard the tea.
  4. Heat broth to a simmer on high.  Add salmon and reduce heat to medium.  Cook 3 minutes.
  5. Discard the ginger and garlic.
  6. Break up the salmon into 3-4 chunks per fillet.
  7. Add the edamame, if using, and the sesame oil.
  8. Cook 2-4 minutes until salmon is opaque.
  9. Season with salt.
  10. Serve over noodles.
  11. Top with green onions, lime juice, and sriracha (optional).

Salmon in Puff Pastry with Dill Sauce

19 Friday Jan 2018

Posted by Nora in Recipes

≈ Comments Off on Salmon in Puff Pastry with Dill Sauce

Tags

Fish

IMG_7349

Admittedly, this is not the prettiest dish to photograph.  But, it is very tasty and very easy for something that looks and sounds rather spectacular.  The dill sauce is not strictly necessary, but I find the dish rather dry without it.  Added bonus – you can prep it in the morning and refrigerate until cooking it at dinnertime.

Salmon in Puff Pastry with Dill Sauce
adapted from Salmon and Rice Wrapped in Pastry with Dill Sauce

Ingredients (4 servings):

Salmon:
2 Tbsp butter
½ cup minced leek
6 oz chopped shiitake mushrooms
2 sheets frozen puff pastry, thawed
4 6-oz skinless salmon fillets
Salt & pepper

Dill Sauce:
2/3 cup clam juice
½ cup dry white wine
1 ¼ cups crème fraîche
3 Tbsp minced fresh dill
Salt & pepper

Directions:

Salmon, Part 1:

  1. Melt butter in a medium saucepan over medium-low heat.  Add leek and saute until it just softens, about 4 minutes.
  2. Add mushrooms, cover, and cook until the mushrooms release their juices – about 5 minutes.
  3. Uncover, increase heat to medium-high, and saute until the moisture evaporates – about 5 minutes.
  4. Season with salt and pepper.
  5. Cook completely.

Salmon, Part 2:

  1. Roll out one sheet of puff pastry into a 12-inch square.  Cut into 4 equal smaller squares.
  2. Divide the leek/mushroom mixture among the squares.  Note: if you have eaters who would prefer not to have leeks/mushrooms you can just leave them out at this step.
  3. Place one piece of salmon diagonally across each square. IMG_7347 (2)
  4. Roll out the second puff pastry sheet to a 13-inch square and quarter.
  5. Bring the open corners (upper rights and lower lefts in above picture) over the salmon and top with the second puff pastry piece, tucking its corners under.  If possible, bring the small corners of the top sheet under also to seal the ends of the salmon.  Note: it is not critical to do this, but the more sealed the better.
  6. Transfer to a lined baking sheet. IMG_7348
  7. Cover and chill for at least 30 minutes, or up to 8 hours.

Baking:

  1. Preheat the oven to 400°F.
  2. Bake until fish reaches 145°F, or about 30 minutes.
  3. Serve with dill sauce.

Note:  The inside will be VERY hot.  If you have small children, cut theirs open to allow them to cool before reaching the table.

Dill Sauce:

  1. Boil the clam juice and wine in a small saucepan until reduced to 1/3 cup, about 10 minutes.
  2. Reduce heat to medium and whisk in the crème fraîche.  Reduce to about 1 cup – about 5 minutes.
  3. Remove from heat.  Stir in dill.  Season with salt and pepper.

Parcel Baked Salmon with Potato & Green Beans

15 Friday Sep 2017

Posted by Nora in Recipes

≈ Comments Off on Parcel Baked Salmon with Potato & Green Beans

Tags

Fish, Pouch cooking, Salmon

We’re always up for new menu items and this looked like a flavor profile we’d enjoy.  Plus, the complete meal concept seemed like a win.  And, thankfully, everyone really liked it so it will go into the regular rotation.

IMG_6814

A couple of notes:

  • I didn’t serve it in the pouches because I didn’t want to be dealing with the papers at the table.  But, it looks better if you do.
  • Next time I’ll cut the potatoes about half this size.
  • I tried a mix of green and wax beans.  While wax aren’t terrible, green are the better choice.
  • I didn’t put leeks in the kids portions.  That’s one of the nice things about pouch cooking.  It’s easy to customize and label everyone’s portions.  I also chopped up the leeks for the adults.
  • You can make these a day ahead and store in the fridge.

Ingredients (per four servings):
1 leek, halved and washed thoroughly
12 ounces green beans
1 lb potatoes
4 salmon fillets
4 tsp paprika
1 lime, quartered

Directions:

  1. Preheat the oven to 400°.  Cut 4 squares of parchment paper.
  2. Slice leeks and potatoes to bite size pieces.  Cut the green beans to 2 inch lengths.
  3. Place ¼ of the green beans in the center of each piece of parchment paper.  Top with the leeks and potatoes.  Sprinkle with a little salt and pepper.
  4. Place the salmon on top of the vegetables.  Sprinkle with 1 tsp paprika each and a little more salt.

    IMG_6813

  5. Seal your pouches and transfer to a baking sheet.
  6. Bake for 20 minutes.
  7. Serve with the lime wedges.

New Recipe – Fish Tacos with Guacamole & Pico de Gallo

03 Friday Mar 2017

Posted by Nora in Recipes

≈ Comments Off on New Recipe – Fish Tacos with Guacamole & Pico de Gallo

Tags

Fish, Fish Tacos

First, apologies for missing yesterday’s post.  We had a high wind warning and the wind did take out the power for a couple of hours.

After many months of listening to requests for fish tacos, I finally found a recipe I wanted to try – The Frugal Girl’s Not-Fried Fish Tacos.  I made the recipe as described and it was a real winner.  I even cut the fish fillets in half per her recommendation which made each piece the perfect size for one taco.  When I repeat it, I’ll probably skip microwaving the spices (not sure that actually did anything) and I’ll significantly increase the chipotle peppers in the sauce.  Some people thought the sauce needed more kick and we determined that the only people interested in the sauce were folks who would be ok with extra spice.

img_6084
img_6085
img_6086
img_6087
img_6088

She recommended serving with guacamole and pico de gallo, among other toppings, so I made those too.  These were both recipes I’d made before and ones that seem to need some doctoring.

The guacamole recipe is from food.com.  It is very good.  I just find the full recipe is well over the stated six servings.  So, I basically halved it.  But, I rounded up the avocado and kept with two limes.  Pressing plastic wrap onto the surface goes along way towards keeping the brown at bay.

The pico de gallo recipe from Food Network needs even more doctoring.  Mainly, it produces WAY more than 4-6 servings.  I HIGHLY recommending thirding the recipe unless you are serving a LARGE crowd.  I also think it does well with a rest to let the flavors meld.  So, I try to make it in the morning if we’re planning to have it for dinner that night.

As you can see we also had flour tortillas, corn chips, cheese, sour cream, diced jalapeno, and lime slices.  Nobody uses all of those things, but different people enjoy different combinations.

Broiled Fish in a Greek Marinade

12 Thursday Nov 2015

Posted by Nora in Recipes

≈ Comments Off on Broiled Fish in a Greek Marinade

Tags

Fish

I don’t buy swordfish very often, but I was looking for some variety from my usual cod and salmon.  At the fish counter, the swordfish seemed like the best option.  And, this recipe was a huge hit so it will definitely be made again.

Recipe courtesy of Williams-Sonoma Kitchen Library Fish cookbook, though I did modify it somewhat.

IMG_3982

5 Tbsp olive oil
1 1/2 Tbsp minced garlic
1 Tbsp dried oregano
1 tsp dried thyme
zest of 1 lemon
1/4 cup lemon juice
salt & pepper
4 swordfish steaks
lemon wedges for serving

  1. Mix all the ingredients except fish & lemon wedges in a shallow non-reactive container.
  2. Add the fish and turn to coat.
  3. Cover and marinate 2-3 hours in the refrigerator.
  4. Preheat broiler (or grill).
  5. Place fish on broiler pan or grill rack.
  6. Broil/grill about 4 minutes per side.

Note: I forgot to take a picture of the actual dish, but since its the cover photo for the book, I included a picture of the book here to give you an idea of what the final dish looks like.

Cod with Swiss Chard & Potatoes

11 Friday Sep 2015

Posted by Nora in Recipes

≈ Comments Off on Cod with Swiss Chard & Potatoes

Tags

Fish

This is from The Boston Globe Magazine – February 17, 2008.

img_5685

This is one of my go-to farmer’s market recipes.  You can easily adjust the amount of fish to your needs without affecting the other ingredients.  I make ours in an 8-qt stock pot because I like the extra depth.  I find a saute pan to be a bit tight.  Serve with a crusty bread.

2 1/2-lb skinless cod fillets
1/4 lemon
2 Tbsp olive oil
1 large onion, cut in half & thinly sliced
1 fennel bulb, cored and thinly sliced (optional)
1 can (28 oz) diced tomatoes, draining optional
3 medium Yukon Gold potatoes, thinly sliced (I have used red also.)
3 cups chicken broth
6 cups (1 bunch) coarsely chopped Swiss chard
2 Tbsp unsalted butter
2 cups chopped fresh basil (optional)

  1. Rinse the cod, pat dry, and sprinkle with salt & pepper.  Squeeze the lemon over the fillets and set the fish aside.
  2. In pan, heat the olive oil.  Add the onion & fennel, season with salt & pepper, and cook until vegetables are soft, about 5 minutes.
  3. Mix in the tomatoes and simmer for about 5 minutes.
  4. Arrange the potato slices on top of the tomato mixture.  Season with more salt & pepper, add the chicken broth, cover, and simmer until the potatoes are tender, about 10 minutes.  (Note: this often takes more like 20 minutes, especially if using red potatoes.)
  5. Lay the cod fillets on top of the potatoes and put the Swiss chard on top of the fish.  Cover again and cook until the chard is wilted and the fish is cooked through, about 10 minutes.
  6. Divide the chard among 6 plates.  Divide the fish into portions and place on top of the chard, then divide and arrange the potatoes around the fish.
  7. Optional: Put the pan back on the heat, add the butter to the sauce, and stir to mix.  Reduce for about 2 minutes, then adjust season with salt & pepper.  Add basil to the sauce, stir to mix, and spoon over the fish.  Serve immediately.

Halibut Recipe

14 Friday Nov 2014

Posted by Nora in Recipes

≈ Comments Off on Halibut Recipe

Tags

Fish

I’m a big fan of recipes I can prep when I have time/ingredients and then eat later.  This is a great one for that theme since the pouches go straight from the freezer to the oven, and it’s something my kids will eat.

Unfortunately, I don’t have pre-frozen photos.  But, doesn’t this look yummy, some would even say elegant if cut open properly.

IMG_2711

Halibut with Carrots & Leeks (from Real Simple magazine)

3 small carrots, thinly sliced – could easily be doubled, if desired
2 leeks (white and light green parts), sliced into half moons – optional
4 6-ounce halibut fillets (1 inch thick, skin removed)
Kosher salt and pepper
4 Tbsp olive oil
¼ cup fresh oregano – 4 tsp dried works fine

Prep:

  1. Arrange 4 squares of parchment on a flat surface. Fold to create a diagonal line.
  2. Place the carrots and leeks in the center on one side of the line. Place the halibut on the vegetables.
  3. ** The seasonings in this step are for the total of 4 pouches.** Season with ½ tsp salt and ¼ tsp pepper. Drizzle with the oil and sprinkle with the oregano.
  4. Fold the parchment over. Starting at one point fold over the edges to seal.  You’ll end up with a half-heart shape.
  5. Place the packets in plastic bags and freeze until ready to cook, for up to 3 months.

Cook:

  1. Heat oven to 375°.
  2. Remove the proper number of packets from the freezer and place in a single layer on a baking sheet.
  3. Cook for 25 minutes.
  4. Cut open the packets before serving. Be careful of the escaping steam.  (On each plate makes the best presentation, but since I’m feeding the kids I transfer the contents to their plates)

I did modify this slightly and my comments as to the ingredients are included.  I am most likely to prep this when I find halibut at the farmer’s market fishmonger.  I’m sure he wonders what I’m doing with all the fish as I usually buy for that night’s dinner also and they rarely are things that would go together.

Enter your email address to follow Busy in the Burbs and receive notifications of new posts by email.

About Me

Welcome! I’m Nora. We have 5 boys and 1 girl. I write about the practical stuff that we call life – managing school, sports, and all things suburban. I get everyone where they need to be, with their stuff, when they need to be there and write about how that all gets done.

Recent Posts

  • October 2019 Grocery Review November 25, 2019
  • September 2019 Grocery Review November 18, 2019
  • Grocery Update – Week 36, 2019 September 24, 2019
  • Grocery Update – Week 35, 2019 September 23, 2019
  • August 2019 Grocery Review September 17, 2019

Categories

  • Accomplishments
  • Books
  • Family
  • Groceries
  • Home
  • Menus
  • Product Reviews
  • Recipes
  • Sports
  • Travel
  • Twins
  • Uncategorized
  • Websites

Pages

  • About
  • Contact
  • FTC Disclosure

Blog at WordPress.com.

  • Follow Following
    • Busy in the Burbs
    • Join 60 other followers
    • Already have a WordPress.com account? Log in now.
    • Busy in the Burbs
    • Customize
    • Follow Following
    • Sign up
    • Log in
    • Report this content
    • View site in Reader
    • Manage subscriptions
    • Collapse this bar
 

Loading Comments...
 

You must be logged in to post a comment.